Wearing a personal hydrogen sulfide monitor and leaving on alarm
Verify the monitor and target gas, wear it near the breathing zone, and leave by the designated route on a hydrogen sulfide alarm.
Match the device and target gas before leaving for the work area
When collecting a personal monitor, start with the gas required for the job. Single-gas and multigas instruments can look similar. Match the issue record to the work requirement for hydrogen sulfide detection. Resolve unclear sensor configuration before taking the unit into the area.
Receiving a unit and verifying its readiness are separate. Check for damage at the housing or inlet and for power or fault indications at the designated point. Power-on does not establish that the sensor and alarms respond. Identify which checks were completed when taking over a unit from another shift.
When the work area changes, confirm whether the same device is appropriate. A single personal unit does not address additional hazards by assumption. Verify required monitoring and other controls under the site procedure. Do not transfer readiness results from one device to another.
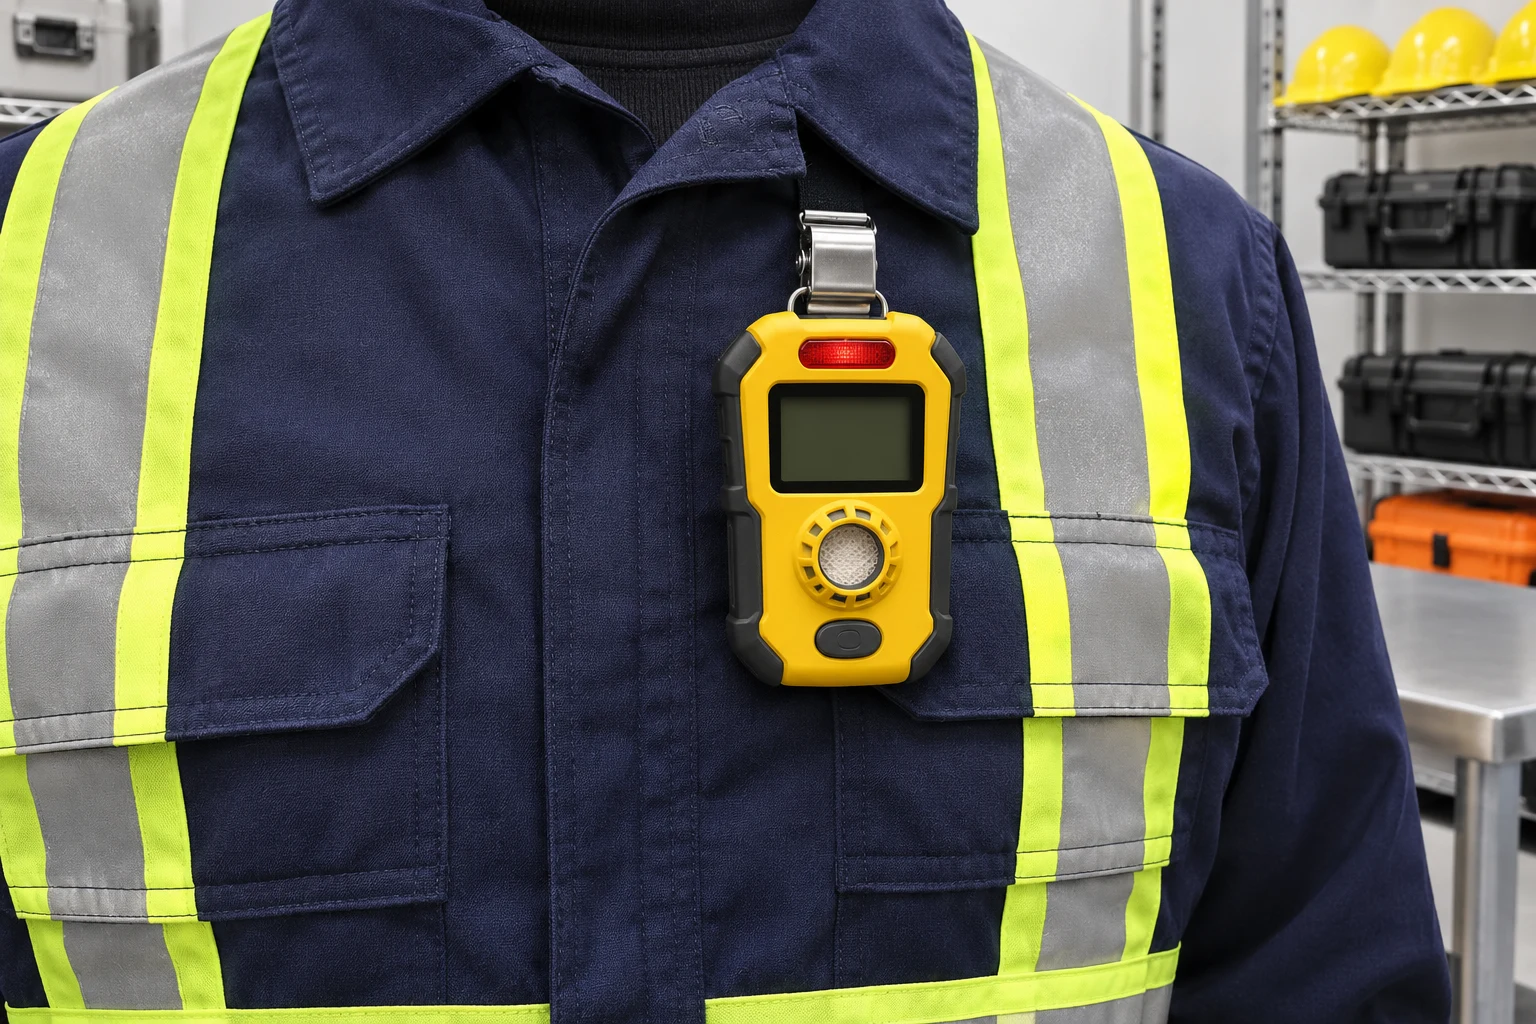
- Wear clip: secure the unit near the breathing zone.
- Alarm indicator: check for obstruction by clothing or straps.
- Display: distinguish power-on from gas response verification.
- Front opening: verify the inlet location on the actual unit and keep it clear.
Distinguish power-on from gas response
Follow site and manufacturer procedures for pre-use checks. A screen or light at startup shows the power-on state. Verifying sensor and alarm response to the specified challenge gas is separate. Do not use workplace air as a test or assume that pressing a button completes it.
Do not take a unit into service if its response check fails or is unverified. Report it at issue and obtain a unit cleared under the procedure. A display reading does not resolve a failed alarm. Keep an unserviceable device separate from ordinary returns.
During handover state which unit and which check were verified. Calibration needs and user response checks are handled separately under device procedures. Do not change settings to make a displayed value look right. If readiness is uncertain, return to the pre-use check.
Wear it near the breathing zone and check for obstruction
Follow manufacturer and site instructions for wearing the unit. Place it near the breathing zone with the inlet exposed to the surrounding air. Inside clothing or a closed pocket, both air access and alarm recognition can change. Check what covers the unit in normal work postures.
Fastening clothing or putting on rainwear can cover the original location. Check harness and radio straps as well. If bending or turning can invert or dislodge the unit, adjust the approved position before work. Do not tape over the inlet or alarm indicators.
Lending or setting down a unit interrupts monitoring at the wearer's position. If an exchange is needed, go to a safe location and repeat issue and readiness checks. Another person's device does not establish monitoring at your position.
Handover sequence
| Stage | Owner | Decision or check | Record |
|---|---|---|---|
| Match unit | Crew and device staff | Verify unit for the job and gas | Device and target gas |
| Verify function | Crew and device staff | Distinguish power from sensor and alarm response | Result and replacement |
| Wear | Crew | Check position, obstruction and clip | Placement and obstruction |
| Plan exit | Crew and operations | Match exit route and safe location | Route and contact |
| Respond to alarm | Wearer | Stop work and leave by the designated route | Alarm point and exit status |
| Report from safety | Wearer and operations | Report alarm and personnel status from safety | Location, task and accounting |
Leave on alarm before studying the display
If the personal monitor alarms for hydrogen sulfide, stop work and leave by the designated route. Do not remain to study numbers or wait for the alarm to stop. Warn people as you can while leaving and report through the site emergency route from safety.
Do not use smell to verify a hydrogen sulfide alarm. Do not stay or return because an odour fades. If a covered device made the alarm hard to recognize, remain out while the event is addressed. Follow site emergency procedures for further action and access.
A nearby colleague's unit may be quiet at a different position or wearing arrangement. Do not regroup at the alarm point to compare devices. Leave and report who received an alarm and where. Another unit's silence does not cancel your alarm.
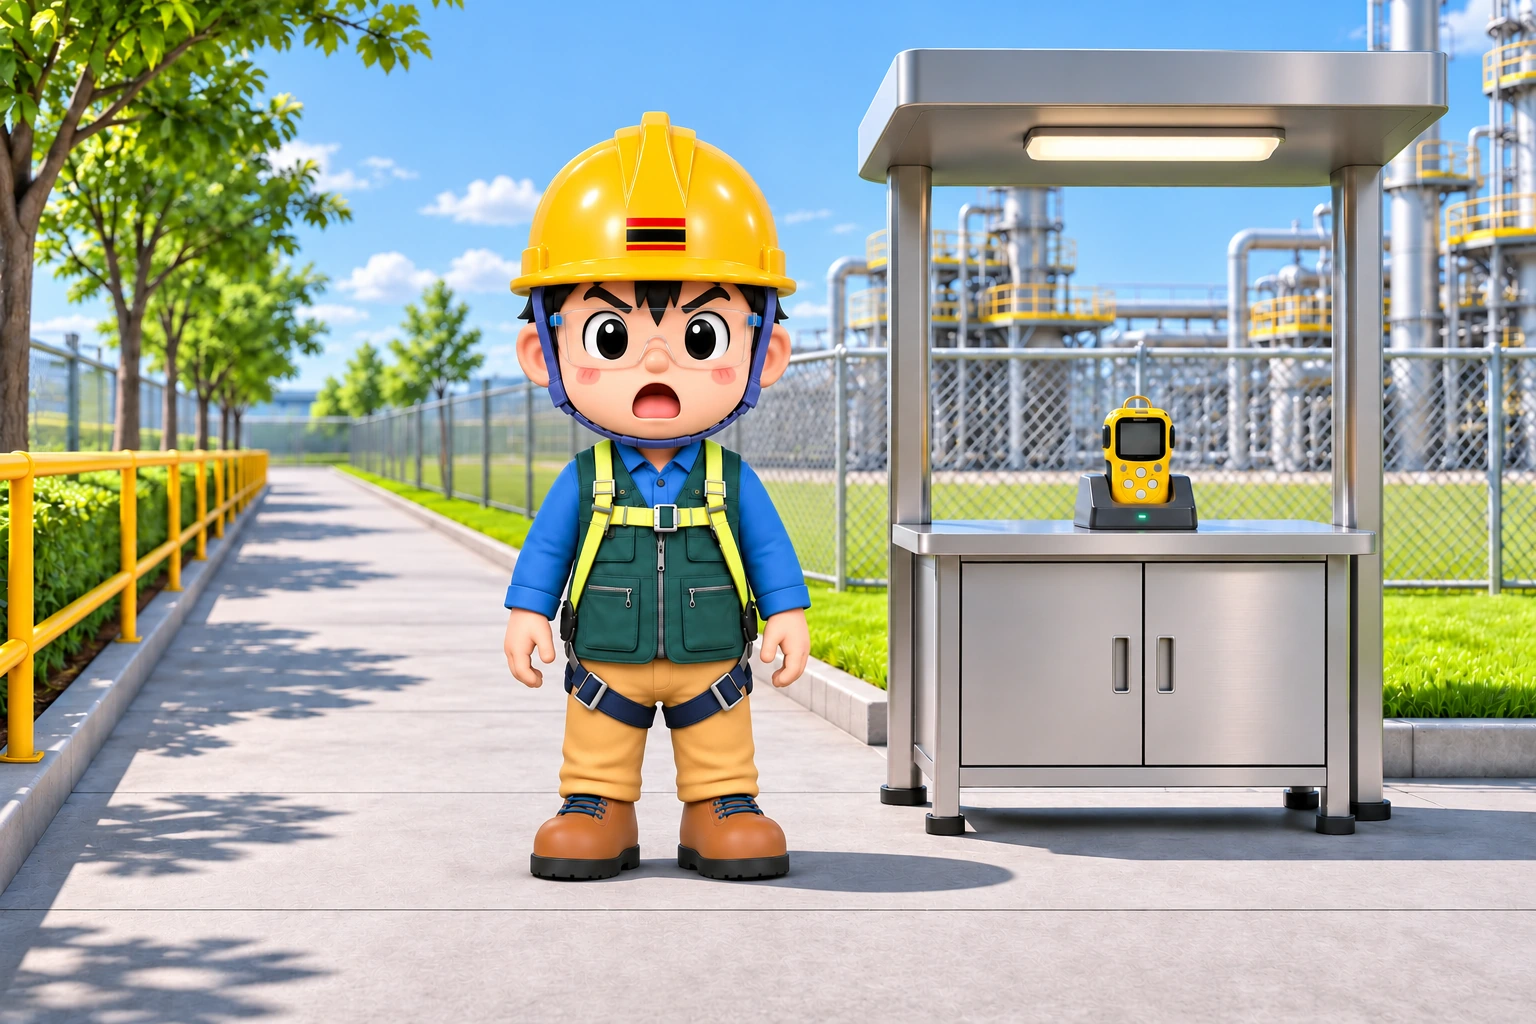
Report location and work state after leaving
From safety, report where the alarm was first noticed and what work was underway. State the exit route and whether coworkers have been accounted for. Alarm duration alone does not establish the affected area. Locations and people help the response team plan its checks.
Do not follow a missing coworker back in merely because you wear a monitor. Activate the site rescue process and give the last known location. Unplanned entry can expose additional people. Coordinate information from safety.
Treat a cleared alarm as an observation about the unit. Follow site procedures for any return to work. Do not re-enter to collect items before clearance. Return or refer the device for checks under the procedure and flag any fault to prevent accidental reissue.
Keep personal monitoring within its scope
A personal hydrogen sulfide monitor warns of changes near its wearing position. Fixed detection, area monitoring and confined-space pre-entry measurements serve different purposes. One person's monitor does not clear a whole area. Verify the conditions applicable to the location.
US OSHA guidance discusses wearing monitors near the breathing zone and pre-use testing. NIOSH identifies odour as unreliable. Use site settings and emergency procedures without importing foreign numerical alarm values.
Resolve readiness issues at the issue point
When several monitors are issued together, one unit's result can be mistaken for another's. Keep checked and unchecked units separate and match the record to the device collected. If device staff are elsewhere, establish how to verify results rather than guessing. Obtain a verified device or have it checked if results are unavailable.
A charging indicator does not verify readiness for the expected work. If a warning remains after removing the unit, resolve it at issue instead of carrying an unexplained warning into the field. Separate the powered display, battery status and sensor response.
A replacement device can signal differently. Review the alerts under site and manufacturer instructions. Ask about unfamiliar indications before starting. Do not wait for an actual alarm to learn the signals. Match the cleared device and wearing point.
Recheck after changes in clothing or posture
An extra layer can cover the monitor before entry. Verify the wearing position with that clothing in place. If the clip loosens while adjusting clothing or a harness, do not continue holding the unit in your hand. Secure it in the approved position from safety and check the inlet and indicators.
Tool or radio straps can cross the front of clothing. An inlet that is clear while standing may be obscured when turning. Check the clip and inlet in the work posture. If the position changes, verify that alarms can still be noticed and avoid snag points.
If dust or water may obstruct the inlet, do not dismantle the unit in the area. Leave for the designated safe point and report the affected part. Cleaning the exterior does not establish normal function. Repeat issue checks for a replacement.
Check the exit route before entry
Before entry, identify the exit route. Materials or restrictions from other work can make the usual route unavailable. Agree the safe location and reporting method with operations. Recheck arrangements if another job will later obstruct access.
Noise or protective equipment can affect alarm recognition. Do not assume an alarm will be noticed from a covered position. Check the approved placement before work and do not rely on someone else's alarm to compensate for poor wearing.
Do not assume the exit route is also suitable for responders. Follow your instructions and report remaining personnel from safety. Any return for assessment must follow response roles and conditions. Ordinary workers should not go back to investigate.
Separate instrument status from the response decision
From safety, report the alert recognized and the work underway. Device staff may check the unit, while responders assess the work area. A suspected device fault does not authorize immediate return. Keep the two checks and their owners distinct.
If several people alarm at different points, retain each location. Confirm where each person recognized the alarm and exited. Provide positions of others if responders need them. Assemble the information from safety without returning to the affected area.
Tell the issue point about an alarm when returning the unit. Separate any device needing checks from normal stock. Charging does not resolve the event or establish readiness. Field restart remains a separate decision even after instrument checks.